Any idea how often you should replace your brake fluid? Chances are, your guess is as good as any. Surprisingly, this information is often left out of owner’s manuals. While “every 25,000” seems to be a good ballpark figure, the lack of consensus means it’s probably one of those things you should just monitor when you can. The following guide will help you test to see if your brake fluid is healthy and restore it if it isn’t. A full “brake fluid flush” cannot be done at home as it requires special equipment. What you will do is replace it gradually until the old, worn-out fluid is refreshed with new, healthy fluid. It will make a huge difference in your vehicle’s braking and it will delay the need for a brake flush, saving you money in the process.
Step 1 - Test your fluid
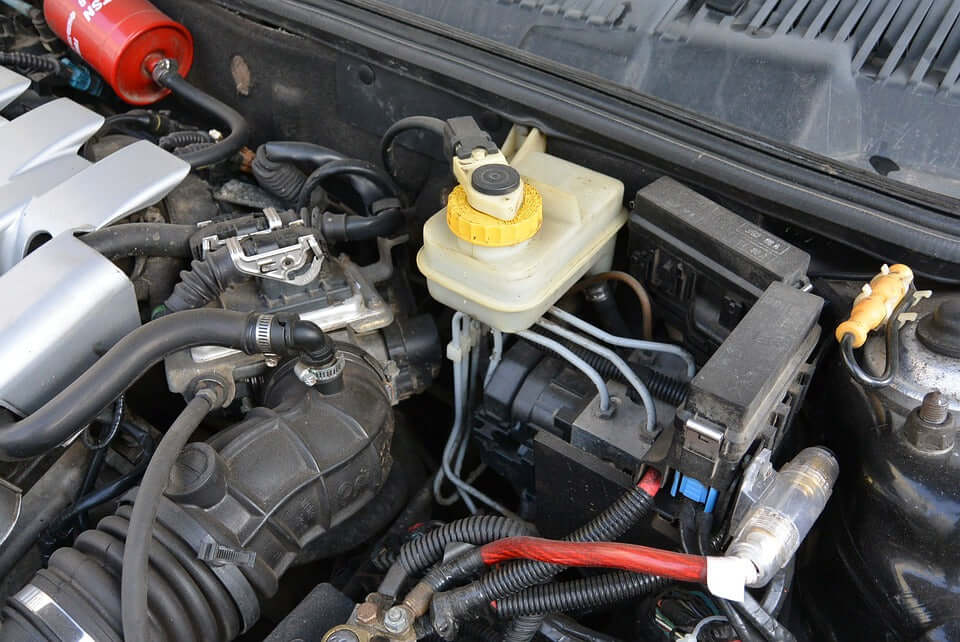
Purchase a brake fluid test strip from your local auto parts retailer. Pop the hood and look for the brake fluid reservoir. It should be clearly marked. Dip the test strip and compare it to the chart on the test strip’s packaging. Brake fluid is a golden color when new and gets darker as it gets used. If your brake fluid is fine and doesn’t need refreshing, close the hood and call it a day. If it does, proceed to step two.
Step 2 - Replace the brake fluid
Use a turkey baster to suck out the old fluid from the reservoir. Make sure to expel it in a suitable waste container and dispose of it properly. Then, pour the new brake fluid into the reservoir. Wipe up any spills around the area. Screw the cap back until it’s on snug.
Step 3 - Rinse and repeat
Your car’s braking system will still have lots of old fluid and probably some gunk in it. The new fluid you put into the car will mix in get dirty almost immediately, defeating the purpose of adding it in the first place. After replacing the first round of fluid, drive the car for a week or so. Then, check the fluid again using another test strip. See where it lands on the color chart. Repeat steps two and three until the fluid looks new. We love saving our people money with tips like these. For more guides like this and car care advice, check out the Strutmasters Blog.


